

Table of Contents
- Why Washing DTF Apparel Correctly Matters for Print Longevity
- How Long to Wait Before Washing DTF Transfers
- The Golden Rules of DTF Washing
- Step-by-Step Washing Instructions for DTF Prints
- Drying Recommendations: Tumble Dry Low vs. Air Dry
- Preventing DTF Cracking in the Wash: Troubleshooting Tips
-
Can You Iron DTF Transfers? Heat and Storage Tips
- The Heat Tolerance Window
- Steam and Moisture Considerations
- Long-Term Storage and Folding: The Missing Care Step
- Folding Rules That Prevent Cracking and Sticking
- The Stacking Problem in Dressers and Shelves
- Environmental Limits for Storage
- Refreshing a Garment That Has Been Stored Long-Term
- The Right Hanger Matters
- Conclusion: Keep Your DTF Apparel Looking New
- Frequently Asked Questions
Last Updated: September 7, 2026
Direct to Film printing has changed how custom apparel looks and feels, but the real test of quality happens in the laundry room, not on the heat press. How to wash DTF apparel correctly is the difference between a print that lasts for years and one that cracks, peels, or fades after a handful of washes.
Why Washing DTF Apparel Correctly Matters for Print Longevity
DTF (Direct to Film) prints are constructed from layers of adhesive, colored ink, and a protective top coat that bonds to fabric fibers during curing. This layered structure is durable but responds to heat, water, and friction in specific ways.
Most people assume that once a print is pressed and cured, it's indestructible. In practice, the wash cycle is where most damage occurs. Excessive heat breaks down the adhesive bond, while aggressive agitation and harsh chemicals attack the ink layer itself. According to general garment care guidance from the American Cleaning Institute, following manufacturer care instructions is the single most reliable way to preserve fabric quality and applied designs over time.
How Long to Wait Before Washing DTF Transfers
The curing process doesn't end when the garment leaves the heat press. Wait at least 24 hours after pressing before washing a DTF garment. This waiting period allows the cured ink and adhesive to fully harden and bond with the textile fibers. For the best results, wait 48 to 72 hours if you can.
The Golden Rules of DTF Washing
Three core principles govern washing DTF apparel: turn it inside out, use cold water, and avoid harsh chemicals.
Turning Garments Inside Out
Turning the garment inside out protects the print and ensures the inside, where sweat and body oils accumulate, gets the most direct cleaning action.
Selecting the Right Water Temperature
Cold water is the default choice for DTF prints. Heat softens the adhesive and can cause the print to become tacky or lift. A cold water wash, typically below 80°F, keeps the adhesive firm and colors locked in (cleaninginstitute.org).
Step-by-Step Washing Instructions for DTF Prints
Follow this exact process for every wash cycle.
- Turn the garment inside out. Protect the print surface from friction.
- Pre-treat any stains on the print or fabric with a small amount of mild detergent. Gently blot, do not scrub.
- Place the garment in the machine with similar colors. Avoid overloading the drum so clothes have room to move freely.
- Select a gentle or delicate cycle with cold water. This minimizes agitation and heat exposure.
- Use a mild liquid detergent. Liquid detergents dissolve more completely than powders, which can leave residue that dulls the print.
- Remove the garment promptly when the cycle ends. Don't let it sit wet in the machine, as this can cause colors to bleed or the print to soften.
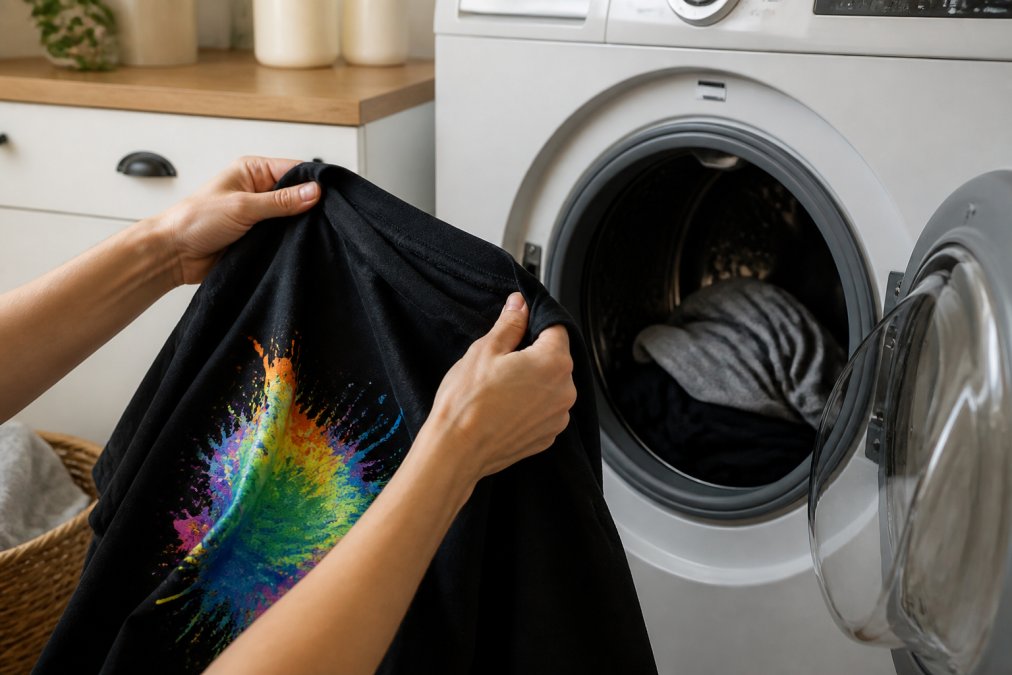
Detergent Selection Guidelines
Use a mild, dye-free liquid detergent for all DTF garments. These clean effectively without harsh additives that can break down ink or leave a film. Look for detergents labeled "free and clear" or "gentle."
What to Avoid: Bleach and Softeners
Two common laundry products are actively harmful to DTF prints: bleach and fabric softener.
Bleach, whether chlorine or oxygen-based, attacks ink pigments, causing rapid fading. Even a small amount can permanently damage a print. Fabric softeners coat the fabric and print with a waxy residue that dulls the finish and can interfere with the ink-to-fiber bond.
Drying Recommendations: Tumble Dry Low vs. Air Dry
Drying is where many prints meet their end. High heat can soften the adhesive enough to cause peeling, and tumbling adds friction that can crack the surface.
Lay the garment flat or hang it on a line, away from direct sunlight. Air drying takes longer but eliminates heat and tumbling risks.
If you must use a dryer, use the lowest heat setting. Remove the garment while still slightly damp and let it finish air drying to reduce heat and tumbling exposure.
| Drying Method | Heat Exposure | Friction Risk | Best For |
|---|---|---|---|
| Air Dry (flat or line) | None | None | Maximum print longevity |
| Tumble Dry Low | Low | Moderate | Convenience when time is short |
| Tumble Dry High | High | High | Avoid entirely for DTF prints |
Preventing DTF Cracking in the Wash: Troubleshooting Tips
Cracking is the most common complaint about DTF prints, and it almost always stems from washing too soon, using hot water, or aggressive drying. Switching to cold water washes and air drying will stop the progression.
Diagnosing the Type of Crack
Not all cracking looks the same, and the pattern tells you what went wrong.
- Spiderweb or micro-crazing: A network of ultra-fine lines across the entire print usually points to thermal shock, moving the garment from a hot dryer to a cold surface, or washing in warm water and then rinsing in cold. The ink layer expands and contracts at a different rate than the adhesive, causing stress fractures.
- Edge peeling or corner lifting: Damage that starts at the perimeter of the design and works inward is almost always an adhesion failure. This happens when the garment is washed before the adhesive has fully cured (within the first 24 hours) or when fabric softener residue has coated the fibers and prevented a strong bond.
- Large, jagged cracks through the center: This pattern typically results from mechanical stress, the print was stretched while wet, or the garment was twisted during spin cycles. Overloading the washer so the garment wraps tightly around the agitator or other clothes is a common culprit.
The Wash Chemistry Behind Cracking
The ink layer in a DTF transfer is a plasticized PVC or polyurethane film. Like any plastic, it has a glass transition temperature, the point where it shifts from flexible to brittle. For most DTF inks, that transition sits well above standard cold water temperatures but well below the heat of a typical dryer cycle. When the film is exposed to high heat and then rapidly cooled, it cycles through that transition repeatedly, making it progressively more brittle.
A Diagnostic Checklist for Recurring Cracks
If you are seeing cracks on multiple garments, work through this checklist to isolate the cause:
- Check your water heater setting. Most residential water heaters are set to 120°F or higher. A "warm" wash cycle can easily deliver 100°F water to the drum. If you cannot verify the actual water temperature, use the cold cycle exclusively.
- Inspect the dryer's cool-down phase. Many dryers have a cool-down period at the end of the cycle, but the garment is still tumbling while the print is at its most vulnerable. Remove DTF garments before the cool-down begins, or choose the "air only" setting.
- Examine the print after the spin cycle. If the print looks cloudy or hazy immediately after washing, the ink layer has absorbed moisture. This is a precursor to cracking. Air drying will allow the moisture to escape slowly; high-heat drying will trap it and cause the film to break down.
- Review your detergent measuring habits. Excess detergent leaves a film that traps moisture against the print and attracts abrasive particles. Use the manufacturer's recommended amount for a normal load, not a heaping scoop.
Stain Removal Techniques for DTF Prints
Treat stains gently with a soft cloth and mild detergent, never scrub the print area. Blot the stain with a mixture of cool water and a drop of mild detergent, working from the outside edge toward the center. Rinse thoroughly with cool water and wash the garment as usual. For stubborn stains on the fabric away from the print, use a soft-bristled brush, but keep it clear of the printed area.
For oil-based stains (grease, food oil, lotion) that sit on or near the print, apply a small amount of dish soap directly to the stain and let it sit for five minutes before blotting. Dish soap is formulated to cut grease without the enzymes found in many laundry detergents that can attack the ink layer. Rinse completely before running the garment through a normal cold wash. For protein-based stains (blood, sweat, grass), use cold water only.
Repairing Damaged or Peeling Prints
Once a DTF print starts to peel, it can't be fully restored to its original condition. For small edges that are lifting, apply a small amount of clear fabric glue or heat-activated adhesive under the lifted edge and press it down with a cool iron through a parchment paper barrier. For larger areas of peeling, remove the old print using a heat press or iron to soften the adhesive, then peel it away and press a new transfer over the area.
When Repair Is Not Worth It
Before investing time in a repair, assess the extent of the damage. If more than 20% of the print area is lifting or if the cracks extend through the entire ink layer to the fabric beneath, the structural integrity of the transfer is compromised. Removing the old print and pressing a fresh transfer is the only reliable solution.
Preventing Cracks in High-Stress Areas
Prints located over seams, pockets, or areas that stretch during normal wear (elbows, knees, shoulders) are inherently more vulnerable to cracking. For these garments, wash them separately or with other lightweight items, skip the spin cycle entirely, and avoid wearing them during activities that involve repeated stretching of the printed area.
Can You Iron DTF Transfers? Heat and Storage Tips
Direct heat is the enemy of DTF prints. Never iron directly on a DTF print. If a garment needs ironing, turn it inside out and iron the back side on a low to medium setting. Alternatively, place a piece of parchment paper or a cotton cloth over the print and iron over that barrier on a low setting.
The Heat Tolerance Window
The adhesive layer in a DTF transfer is a thermoplastic polyurethane (TPU) that softens at approximately 250°F to 300°F. A standard household iron on the "cotton" setting reaches 300°F to 400°F, well above the softening point. The safe window for any direct heat contact is narrow: brief, low-temperature passes with a protective barrier.
Steam and Moisture Considerations
Steam is a hidden danger for DTF prints. The moisture from a steam iron can penetrate the edges of the print and weaken the adhesive bond, especially if the print has any micro-cracks. If you must use steam, direct it only at the fabric portions of the garment, not the printed area.
Long-Term Storage and Folding: The Missing Care Step
How you store a DTF garment between wears is just as important as how you wash it. The two storage threats are heat and pressure. Heat causes the adhesive to soften and become tacky. Pressure forces the print to crease or stick to adjacent fabric.
Folding Rules That Prevent Cracking and Sticking
- Never fold a DTF print directly onto itself. The print surface against the same print surface creates a bond when exposed to warmth. Instead, place a sheet of acid-free tissue paper or a plain cotton cloth between the print and the adjacent fabric layer.
- Avoid folding along the printed area. If the design spans the chest, fold the garment so the crease falls above or below the print. For prints that wrap around the sleeves or shoulders, roll the garment instead of folding it.
- For long-term storage (more than a month), hang the garment instead of folding it. Use a wide, padded hanger to distribute weight and prevent shoulder dimples. Never use wire hangers, which create pressure points that can emboss the print over time.
The Stacking Problem in Dressers and Shelves
If you stack DTF garments in a drawer, the weight of the items on top compresses the prints below. Over weeks, this pressure can cause the adhesive to micro-deform, creating faint impressions or causing the print to stick to the layer beneath. Place DTF garments on the top of any stack, never at the bottom, and limit the stack to three garments.
Environmental Limits for Storage
DTF prints tolerate a wide range of conditions, but extremes shorten their life:
- Humidity above 60%: Moisture in the air can penetrate the print edges and cause the adhesive to degrade. Use a desiccant pack in storage bins if you live in a humid climate.
- Temperatures above 90°F: Prolonged exposure softens the TPU adhesive. Avoid storing DTF apparel in garages, attics, or near heat vents.
- Direct sunlight: UV radiation fades the ink layer even when the garment is not being worn. Store in a dark closet or use opaque storage bins.
Refreshing a Garment That Has Been Stored Long-Term
If a DTF garment has been folded in a drawer for several months, the print may have developed a slight tackiness or a faint impression from the fold. Before wearing it again, hang the garment in a cool, dry, dark place for 24 to 48 hours to allow the adhesive to relax. If the print has a visible crease, place a parchment paper barrier over it and apply a warm iron (not hot) in a slow, circular motion for no more than 10 seconds.
The Right Hanger Matters
For hanging DTF garments, choose hangers that do not create pressure points on the print. A standard plastic hanger with sharp edges can leave a permanent ridge across a print that sits near the shoulder. Wide, contoured hangers distribute the garment's weight evenly.
Conclusion: Keep Your DTF Apparel Looking New
Washing DTF apparel correctly comes down to consistency: wait 24 hours before the first wash, always turn the garment inside out, use cold water and a mild detergent, and air dry whenever possible.
When you start with a quality transfer, proper care ensures it performs. At Creations With Purpose, our DTF transfers are designed for creators who demand professional-grade results. Pair our vibrant, handcrafted designs with the care routine above, and your apparel will keep turning heads.
Frequently Asked Questions
How long should you wait before washing a DTF shirt for the first time?
You should wait at least 72 hours after the transfer is applied and heat-pressed before the first wash. This waiting period allows the adhesive and ink to fully cure and bond with the fabric fibers. Washing too early can disrupt the curing process and lead to premature cracking or peeling, even if the print feels dry to the touch.
Can DTF-printed apparel be put in the dryer?
Yes, but you should use the lowest heat setting or tumble dry low. High heat can degrade the adhesive and cause the print to crack or peel over time. Air drying is the safest option to preserve print longevity. If you use a dryer, remove the garment while it is still slightly damp to minimize heat exposure.
Does DTF printing peel or crack in the wash?
High-quality DTF prints should not peel or crack if washed correctly. Issues usually arise from washing in hot water, using harsh detergents, or high-heat drying. Always wash inside out on a gentle cycle with cold water and mild detergent. This reduces agitation and protects the print, helping it withstand many washes.
What is the best water temperature for washing DTF designs?
Cold water is the best choice for washing DTF apparel. Temperatures below 80°F help preserve the integrity of the cured ink and adhesive. Hot water can soften the adhesive and cause the design to lift or break down over time, leading to cracking and reduced print longevity.
Getting the wash routine right is the final step in creating apparel that stands up to real life. Creations With Purpose offers unique DTF and UV DTF transfers that are ready to ship, with special launch pricing on new releases during live shows. We help makers and small businesses turn everyday items into something special. Shop our latest designs and start your next project with confidence.